Sage T.
Indoor Gardening & Plant Care
Why Water Propagation? The Easiest Way to Grow Your Plant Family Indoors
If you’re new to apartment gardening or just looking for a beginner-friendly plant care method, water propagation is about to become your new favorite hobby. Simply put, water propagation means growing new plants from cuttings placed in water—no soil, no mess, and no need for a green thumb. It’s an ideal indoor plant propagation technique for anyone living in a small space, especially if you’re working with rental restrictions or limited natural light.
What makes water propagation so perfect for apartment dwellers? First, it requires only the most basic supplies: a glass jar, a healthy plant cutting, and some tap water. There’s no need to invest in expensive pots or specialty soils, making it a budget-friendly way to expand your indoor jungle. Plus, watching roots develop day by day is genuinely rewarding—think of it as a little science experiment on your windowsill.
As someone who’s tested countless propagation methods in my own urban apartment, I can confidently say that water propagation is the simplest, most accessible way to grow your plant family indoors. Whether you’re a total beginner or just short on space, this method lets you enjoy the magic of plant growth without the usual barriers. Ready to give it a try? Let’s dive in!
Best Beginner Plants for Water Propagation
If you’re new to plant propagation, starting with water is both simple and satisfying. Here are my top picks for the easiest and most rewarding houseplants to propagate in water—perfect for small spaces and even the busiest schedules:
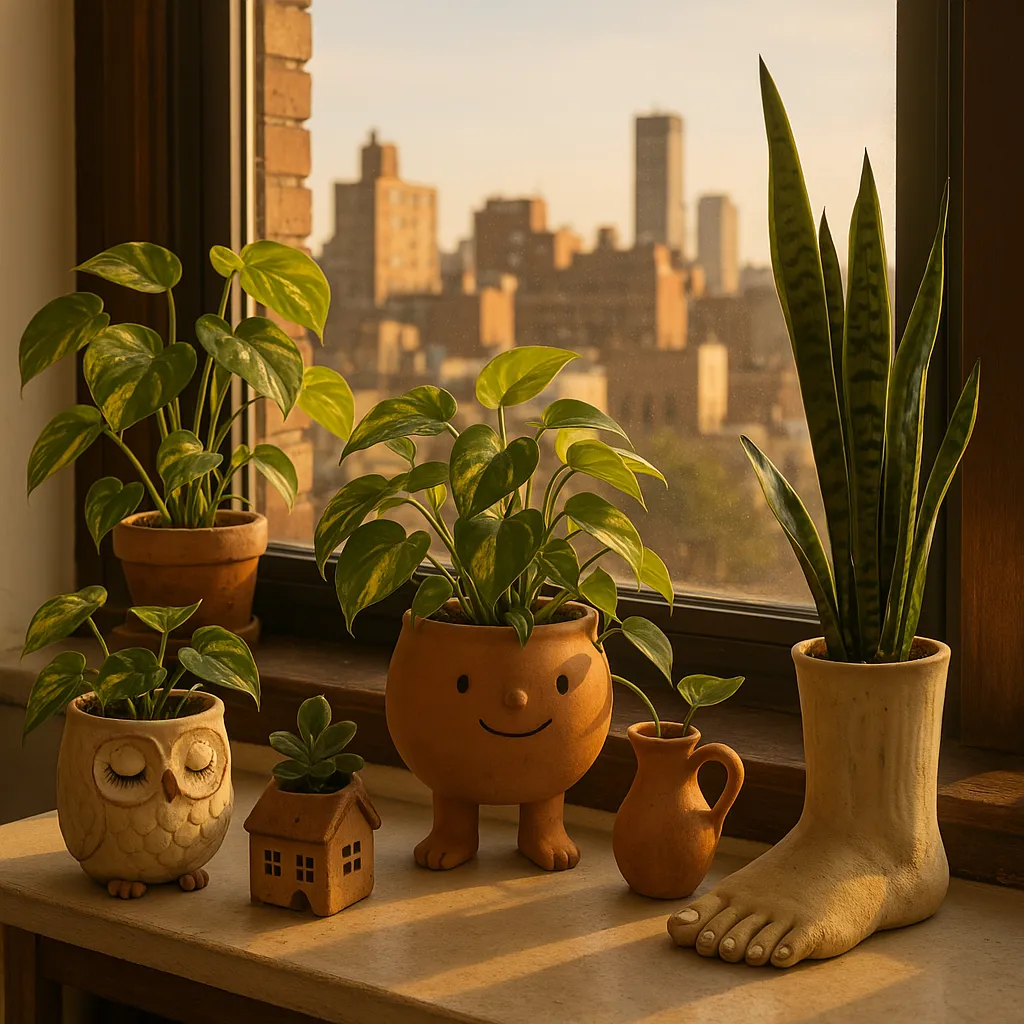
Pothos (Epipremnum aureum)
The pothos plant for propagation is a classic choice for beginners. Its trailing vines root quickly in a glass of water, and you’ll see new roots in as little as a week. Pothos is forgiving of low light and irregular watering, making it ideal for apartments. Plus, its heart-shaped leaves add instant greenery to shelves or windowsills. Look for pothos starter cuttings or small plants on sites like Etsy or The Sill.Philodendron (Heartleaf Philodendron)
Another trailing houseplant easy to propagate, the heartleaf philodendron thrives in water. Simply snip a stem below a node and place it in a jar—roots will appear with minimal effort. Its compact growth habit suits small spaces, and the lush, cascading foliage brings a touch of the tropics indoors. Many online plant shops and local plant swaps offer affordable philodendron cuttings.Spider Plant (Chlorophytum comosum)
Spider plant pups are famous for their ease of propagation. These baby offshoots can be snipped and placed in water, where they’ll quickly develop roots. Spider plants tolerate a range of light conditions and are known for their air-purifying qualities. If you’re looking to buy spider plant pups online, check out plant retailers or community marketplaces like Facebook Marketplace.Monstera (Monstera deliciosa or Monstera adansonii)
Monstera cuttings are a rewarding option for those wanting a statement plant. While they take a bit longer to root than pothos or spider plants, the process is still beginner-friendly. Watch for those iconic split leaves as your cutting matures. Small monstera cuttings are widely available from online plant shops and specialty sellers.
All of these plants are low-maintenance, space-saving, and budget-friendly—making them perfect for urban dwellers. If you’re ready to try your hand at water propagation, start with one (or more!) of these options and watch your indoor jungle grow. For affordable starter cuttings, explore reputable online plant shops, local plant groups, or even plant trading communities.
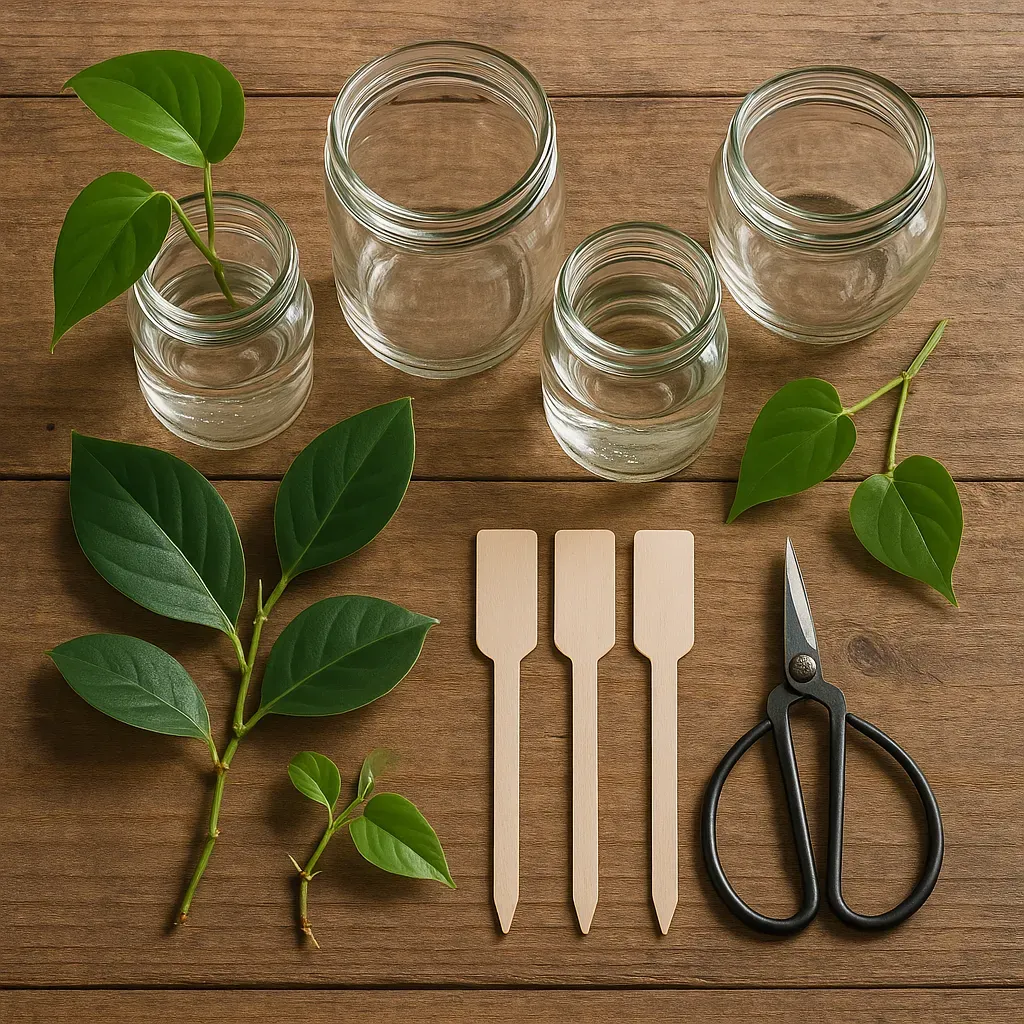
What You’ll Need: Simple Tools and Containers
Starting your water propagation journey doesn’t require a shopping spree—most essentials are likely already in your kitchen or recycling bin. Here’s a practical checklist to get you started, with a focus on affordable, beginner-friendly options:
Glass Propagation Jars for Plants
Any clear glass jar works beautifully for water propagation. Think empty jam jars, spice bottles, or even small mason jars. The transparency lets you monitor root growth and water clarity. If you want a sleeker look, Propagation Station 3 Pcs Bulb Vase Glass Sweet Pea Vase for Flowers Terrarium Jar Planter with Wooden Rack Stand Holders or a Tabletop Hanging Glass Planter Propagation Station with 5 Test Tubes can double as functional décor, keeping your cuttings organized and stylish on a windowsill or shelf. For a more DIY approach, Smiths Mason Jars 12 Pack Mini Glass Bottles are perfect for individual cuttings and add a rustic touch.Plant Snips for Propagation
A sharp, clean pair of plant snips or scissors is essential for taking healthy cuttings. If you don’t have specialized snips, regular kitchen scissors (thoroughly cleaned) will do the trick. Clean cuts help prevent disease and encourage strong root development. For precision and comfort, especially if you plan to propagate regularly, consider Chilymes Professional Pruning Shears.Clean Water
Tap water is usually fine, but let it sit out overnight to allow chlorine to dissipate, especially if you’re in an area with heavily treated water. Filtered water is a bonus but not a must.Optional Accessories
- Label sticks or masking tape for noting plant names and cutting dates—especially helpful if you’re propagating several varieties at once. KINGLAKE 100Pcs White Plastic Plant Labels & Markers are a simple, reusable solution for keeping your cuttings organized.
- A minimalist propagation station can double as functional décor, keeping your cuttings organized and stylish on a windowsill or shelf.
Budget-Friendly Tip: Before buying anything new, raid your recycling bin or kitchen cabinets. Repurposed glass jars and bottles are not only cost-effective but also eco-friendly. If you’re feeling crafty, DIY propagation stands from scrap wood or old test tubes can add a personal touch without breaking the bank.
With these simple tools, you’ll be ready to start propagating—no fancy equipment or big investment required. Next, I’ll walk you through the step-by-step process to set up your first water propagation station.
Step-by-Step: How to Take a Healthy Cutting
Taking a healthy cutting is the first—and most important—step in successful plant propagation. Whether you’re starting your first philodendron cutting starter or following a how to propagate indoor plants guidebook, here’s how I do it in my own apartment:
- Choose the Right Stem: Look for a stem that’s healthy, not too old or too new, and has at least one or two leaves. Avoid any stems with yellowing or damaged leaves.
- Find the Node: The node is a small bump or joint on the stem where leaves and roots grow. It’s usually just below where a leaf meets the stem. For most indoor plants, roots will sprout from this spot—so it’s essential to include at least one node in your cutting.
- Where to Cut: Using clean, sharp plant snips for propagation (I always wipe mine with rubbing alcohol first), make a cut about half an inch below the node. A clean cut helps the plant heal and reduces the risk of disease. For best results, I recommend Chilymes Professional Pruning Shears for their precision and comfort.
- How Many Leaves to Keep: Keep one or two healthy leaves on your cutting. Too many leaves can stress the cutting, since it can’t support lots of foliage without roots. If your cutting has more, gently snip off the extras.
- Keep It Healthy: Place your cutting in a clean glass of water or moist potting mix right away. Make sure the node is submerged or buried, but keep the leaves above water or soil to prevent rot.
Pro tip: If you’re new to propagation, start with forgiving plants like pothos or philodendron. They root easily and give you a confidence boost!
Taking the time to select a healthy stem and use the right tools sets you up for propagation success. If you’re curious about which plant snips for propagation I recommend, check out my tested favorites in the next section.
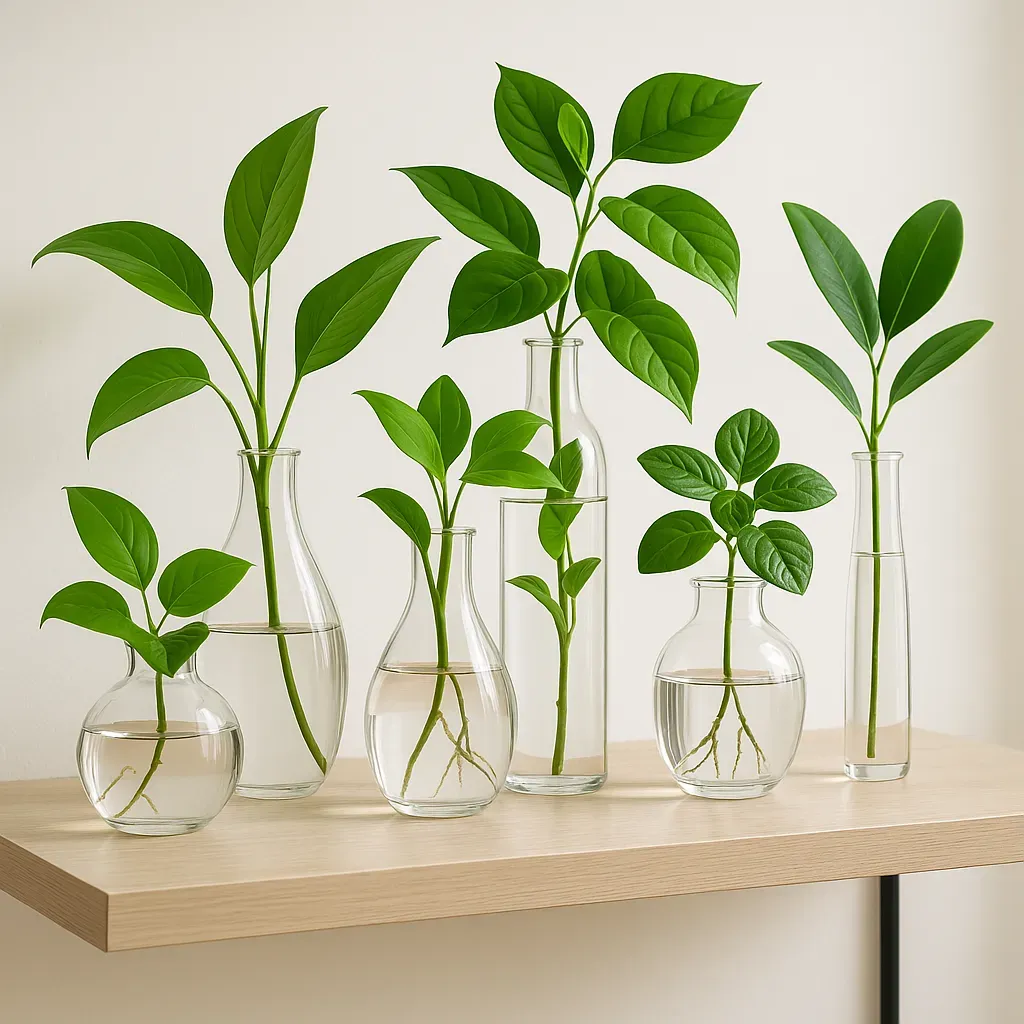
Setting Up Your Water Propagation Station
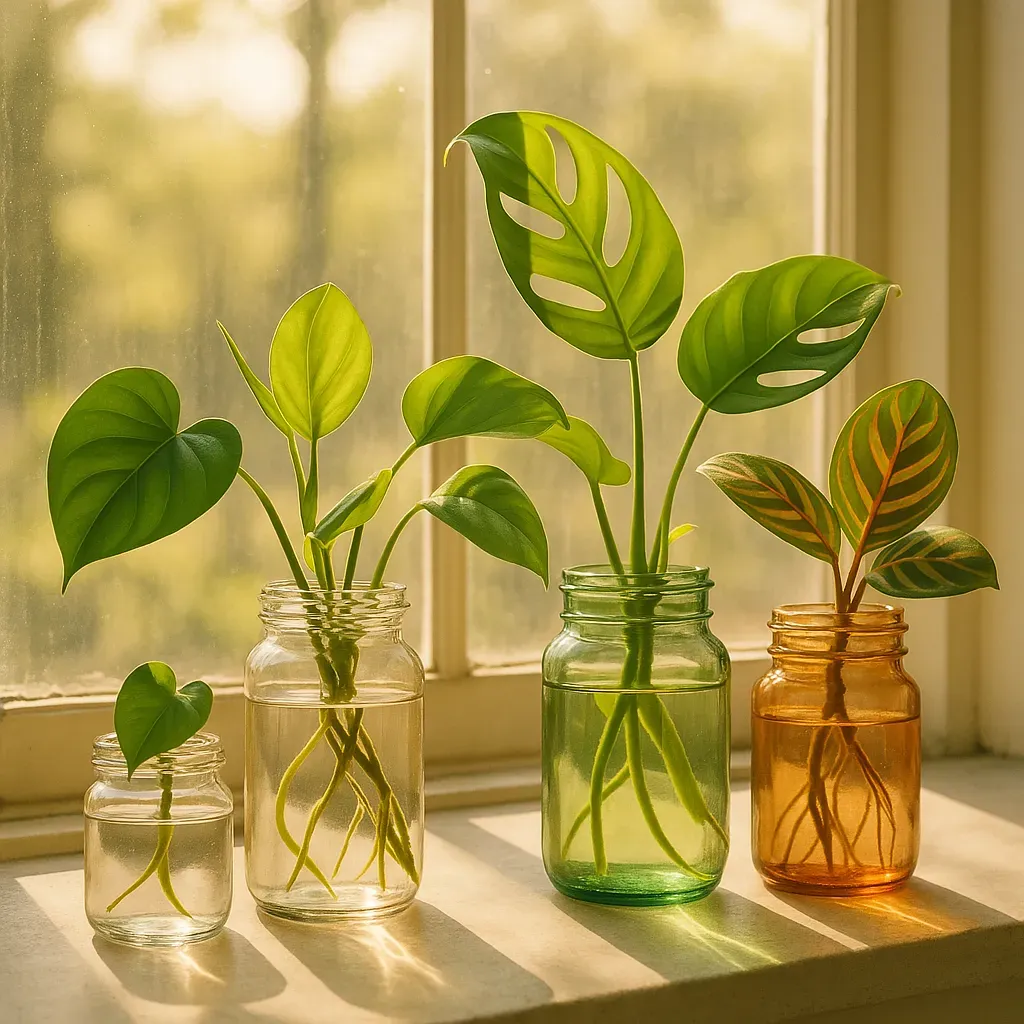
Creating a water propagation station is one of the simplest—and most rewarding—ways to grow your indoor plant collection, even in the smallest apartment. You don’t need fancy equipment; a few small glass bottles for cuttings, recycled jars, or a propagation vase stand (many stylish options are available in the UK and online) will do the trick.
Start by gathering your vessels. Clear glass is ideal because it lets you monitor root growth and water clarity. Arrange your jars or vases on a bright windowsill or a shelf that gets plenty of indirect sunlight—direct sun can overheat the water and stress your cuttings. If space is tight, try a tiered propagation vase stand or line up bottles along a narrow ledge. I’ve even used a spice rack to display multiple cuttings in a compact, eye-catching way.
For a stylish and organized setup, consider a Propagation Station 3 Pcs Bulb Vase Glass Sweet Pea Vase or a Tabletop Hanging Glass Planter Propagation Station. For a more flexible or DIY approach, Smiths Mason Jars 12 Pack Mini Glass Bottles are a great choice for individual cuttings.
Fill each container with clean water for plant rooting—filtered or distilled is best, especially if your tap water is heavily chlorinated. Change the water every few days to keep it fresh and prevent algae. When placing multiple cuttings in one vessel, make sure leaves stay above the waterline to avoid rot, and give each stem a little breathing room for healthy root development.
To make your setup attractive, mix and match bottle shapes and heights, or add decorative pebbles to the bottom of each jar. Not only does this create a mini indoor garden, but it also turns your propagation station into a living piece of décor. With a little creativity, even the smallest nook can become a lush, inspiring spot for new plant life to thrive.
Caring for Your Cuttings: Rooting Timelines and Troubleshooting
Watching your cuttings develop roots is one of the most rewarding parts of indoor plant propagation. Here’s what you can expect, plus some practical tips to keep your new plant babies healthy and thriving.
Rooting Timelines: What’s Normal?
Most popular houseplants—like pothos, philodendron, and monstera—start showing tiny roots within 2-4 weeks when placed in water. Hardy herbs such as mint or basil can root even faster, sometimes in just 7-10 days. Slower growers, like fiddle leaf figs, may take up to 6 weeks. If you’re using a rooting hormone water based solution like Westland Organic Rooting Gel, you might see roots a bit sooner, as these products can gently speed up the process.
Changing Water: The Key to Healthy Roots
Fresh water is your best friend. Change the water every 3-5 days to prevent bacteria buildup and keep oxygen levels high. Use room-temperature, filtered water if possible. If you notice the water turning cloudy or smelling off, swap it out right away.
Spotting Healthy vs. Unhealthy Roots
Healthy roots are white or pale tan, plump, and firm. Unhealthy roots look brown, mushy, or slimy—signs of rot. If you spot any, trim them away with clean scissors and refresh the water. Soggy leaves or stems above the waterline can also signal trouble; remove any submerged leaves to prevent decay.
Troubleshooting Common Issues
- Stagnant Water: If your water isn’t clear or smells bad, roots can suffocate. Change it more frequently and rinse the container.
- Soggy Leaves: Only the stem should be submerged. Leaves in water will rot quickly.
- Slow Rooting: Double-check your light—bright, indirect sunlight works best. Consider a rooting hormone water based dip for stubborn cuttings.
Pro Tip: Use houseplant label sticks to keep track of your cuttings and their start dates. It’s a simple way to monitor progress and avoid mix-ups, especially if you’re following a how to propagate indoor plants guidebook.
Remember, every plant is a little different, so don’t stress if your cuttings take a bit longer. With patience and a few easy tweaks, you’ll soon have healthy roots ready for potting. Happy propagating!
When and How to Pot Up Your New Plants
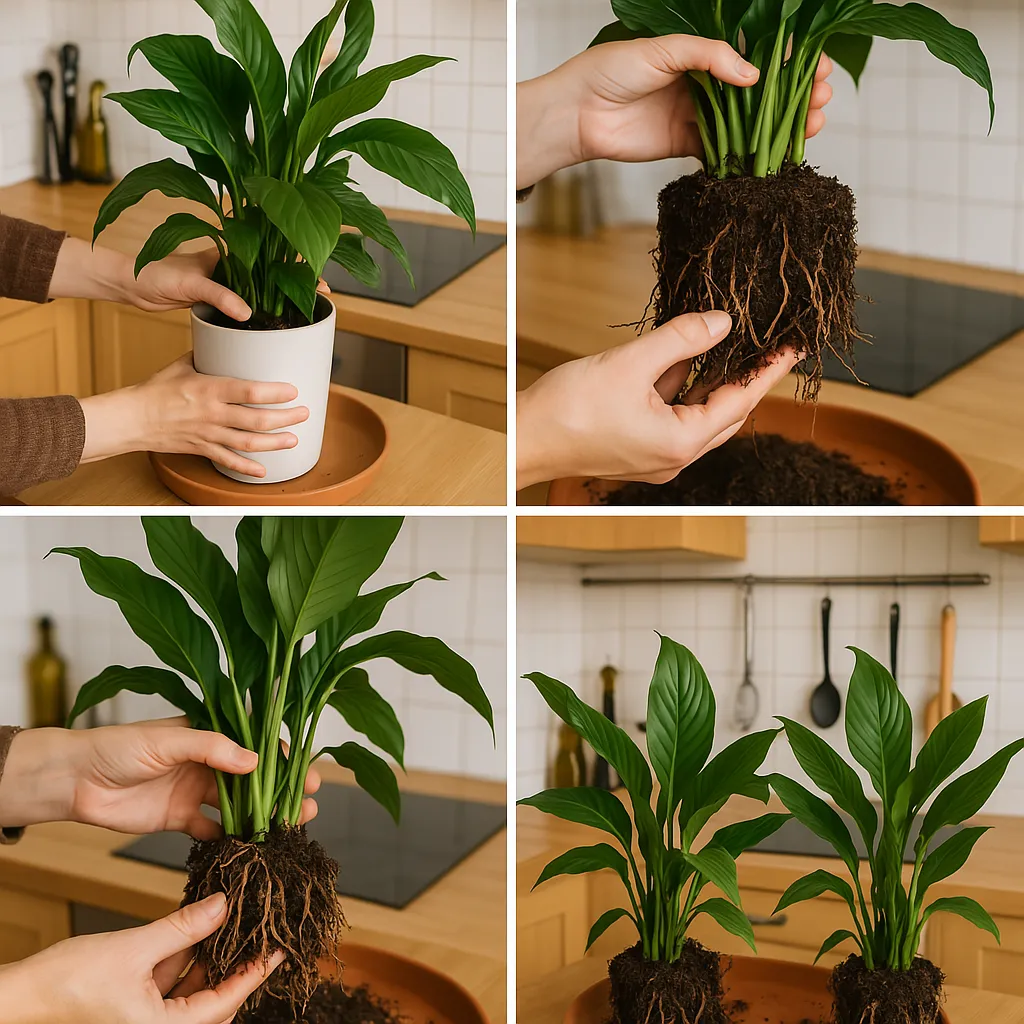
Knowing when to move your cuttings from water to soil is a key milestone in apartment gardening—especially if you’re new to indoor plant propagation. Here’s how I tell my cuttings are ready: look for roots that are at least 2-3 inches long and have several fine root hairs. If the roots are still short or look fragile, give them another week or two in water. Patience pays off here!
Once your cuttings are ready, follow these beginner-friendly plant care steps:
- Choose the Right Pot: Pick a small pot (4-6 inches wide) with drainage holes. This helps prevent overwatering—a common issue in indoor plant propagation.
- Select the Best Soil: Use a light, well-draining potting mix. I recommend a blend labeled for houseplants or indoor gardening. Avoid heavy garden soil, which can suffocate new roots.
- Potting Up: Gently fill the pot halfway with soil. Hold your cutting in place and fill around the roots, being careful not to compact the soil too tightly. Water lightly to settle the soil.
- Help Your Plant Adjust: Place your new plant in bright, indirect light. Avoid direct sun for the first week, as new roots are sensitive. Keep the soil slightly moist but not soggy.
Remember, every successful transfer is a win! Celebrate your progress—snapping a photo or sharing with a friend can make the moment even sweeter. With these simple steps, you’re well on your way to thriving apartment gardening. If you’re curious about the best beginner-friendly plant care tools, check out my tested recommendations in the next section.
Next Steps: Growing Your Indoor Jungle on a Budget
Growing your indoor jungle doesn’t have to mean emptying your wallet or running out of space. If you’ve started experimenting with water propagation, keep going! Every cutting is a chance to learn, and even the smallest successes are worth celebrating. I encourage you to share your progress—whether it’s a root just peeking out or a thriving new plant—with friends or in online plant communities. Swapping cuttings is one of my favorite budget-friendly indoor gardening tips; it’s a great way to expand your collection without spending a dime, and you might discover new varieties perfect for small space plant care.
If you’re looking for more inspiration, try exploring beginner guides here on Nature Nooks or challenge yourself with a new, easy-care plant variety. For those who want extra guidance, How Not to Kill Your Houseplant: Survival Tips for the Horticulturally Challenged is a fantastic resource packed with practical advice for beginners. Remember, urban apartment plant tips aren’t about perfection—they’re about enjoying the process and making the most of what you have. Your indoor jungle will grow one step at a time, and I’m here to help you along the way. Ready to try your next plant project? Check out our latest guides and let’s keep growing together!